Find the Warrior's opening course
Head north from the Crossroads to begin the Warrior's opening puzzles in The Hearty Heroes of Hauling. The key mechanic is his ability to push several crystals in a line, which lets you clear passages that initially look blocked. This walkthrough follows four opening rooms, with detailed directions for the first two and objective-based guidance for the button rooms.
These instructions apply to the historical June Steam demo. It launched on June 15, 2026, and received additional content on June 19. The demo walkthrough recording by PairingPears references both builds without identifying which version appears in every edited room, so compare your board with the landmarks below before following a move.
| Room | Identifying features | Completion target |
|---|---|---|
| Opening corridor | Two stone pillars, a blue crystal, and a pink crystal | Yellow circle at the right |
| Six chambers | Two rows of three chambers connected by narrow passages | Green portal in the lower-left chamber |
| Single-button room | Pink crystal, left flower button, and right yellow barrier | Green portal beyond the barrier |
| Three-button room | Three crystals, central thorns, and three bottom flower buttons | Purple exit marker on the right |
From the Crossroads, take the northern castle route into the courtyard bearing the area's name. Enter the doorway at the top. In the June recording, the Queen changes into the red-clad Warrior inside the first corridor.
Before starting:
- Confirm that you control the Warrior. The green Thief and the Wizard have different courses.
- Restore the room's original crystal positions if you have already experimented.
- Read directions relative to the overhead board: up means toward its top.
- Use undo after a mistaken push, or restart when you need the entire starting arrangement.
The room labels here describe their layouts; they are not official level identifiers.
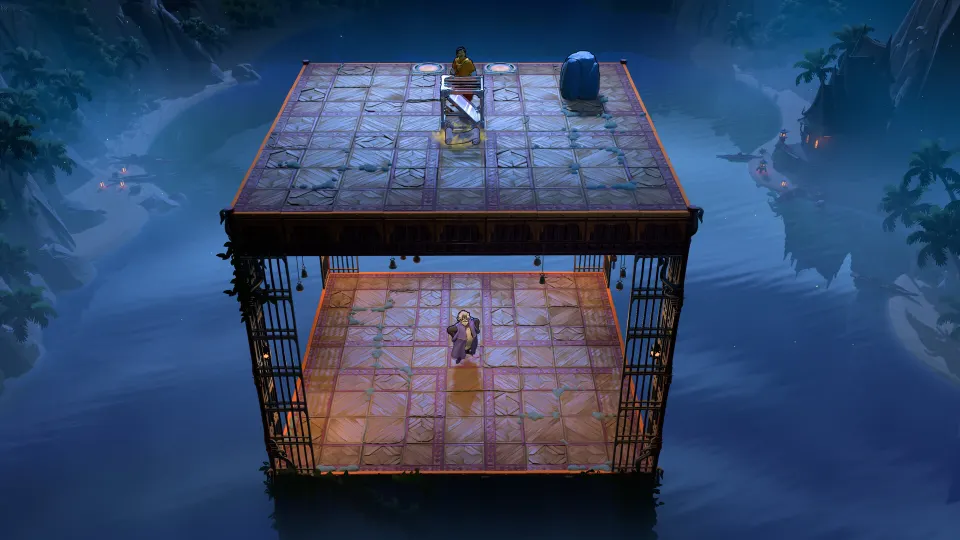
Room 1: clear the corridor around the pillars
The first room is a narrow corridor three rows high. You begin on the left, with the yellow goal against the right side. A blue crystal obstructs the lower route near the first pillar, while a pink crystal sits farther along, beyond the second pillar.
- Push the blue crystal along the bottom. Approach it from the left and move it right until you can travel beneath the first pillar and step upward into the central opening.
- Circle above the second pillar. Use the upper passage to reach the left side of the pink crystal.
- Push the pink crystal right. Clear your approach to the goal while leaving the square above the yellow circle accessible.
- Step down onto the goal. Move onto the yellow circle beside the right wall.
The room finishes when the Warrior occupies the goal and the next puzzle loads.
Room 2: work clockwise through the six chambers
This room contains three chambers across the top and three across the bottom. You enter in the upper-left chamber, but the destination is directly below you in the lower-left chamber. Reaching it requires traveling around the room: right across the top, down the far side, then left across the bottom.
Cross the upper chambers
Push the pink-and-blue crystal line right once through the passage leading out of the upper-left chamber.
Inside the upper-middle chamber, walk above the blue crystal and push it down one square. This frees the route toward the upper-right chamber. Continue right, then locate the downward passage.
Push the pink crystal in that passage down into the lower-right chamber. Follow it through the opening.
Return along the bottom
Get to the right side of the crystal row extending through the lower chambers. Push the row left through the narrow connection until you can enter the lower-middle chamber.
Use that chamber's clear upper row to stand above the crystal obstructing the left passage. Push it down into the bottom row, then walk left into the lower-left chamber.
| Position | Required adjustment | What it accomplishes |
|---|---|---|
| First upper passage | Push the paired crystals right once | Opens access to the upper-middle chamber |
| Upper-middle chamber | Push the blue crystal down once | Clears the route farther right |
| Lower-middle chamber | Push the left-route blocker downward | Opens access to the final chamber |
| Lower-left chamber | Move the pink crystal upward off the portal | Makes the destination accessible |
Uncover the portal
In the lower-left chamber, push the horizontal crystal line left until the blue crystal reaches the left edge. The pink crystal will now occupy the green portal.
Walk below the pink crystal and push it up one square. Step onto the uncovered green circle to finish.
Rooms 3 and 4: keep the flower buttons occupied
Room 3: hold the single button
Look for one pink crystal, a flower button on the left, and a yellow barrier on the right. Your objective is to place the crystal on the button so the barrier opens.
Plan your approach around the position you need for the final push onto the button. Once the crystal holds the button, leave it there and move through the opened right-hand route to the green portal.
If the barrier remains closed, check the crystal's placement first.
Room 4: fill all three buttons
The last room covered here has three crystals, a thorn patch in the center, and three flower buttons along the bottom. All three buttons must be occupied to open the right exit.
Use the bottom buttons as your planning targets. Before committing a crystal to one, consider where the Warrior must stand to move the remaining crystals around the central thorns. His ability to push a line remains relevant when crystals meet.
| Visible state | Next objective |
|---|---|
| A bottom button remains empty | Position a crystal on the remaining button |
| All three buttons are occupied | Check that the right exit has opened |
| The right exit is open | Move the Warrior onto the purple exit marker |
The June walkthrough recording returns to the world entrance after this opening sequence. That return marks the end of the segment covered here; it does not establish that every demo puzzle has been completed.
Fix a route that does not match
A failed sequence often starts with a mismatch between the instructions and the current board. Check your character, crystal positions, and room layout before repeating the same moves.
| Mismatch | What to check |
|---|---|
| You control the Thief or Wizard | Locate the Warrior course before applying these directions |
| The architecture matches but crystals differ | Undo earlier moves or restart the room |
| The starting board has different obstacles or exits | Check whether you are following June demo instructions in another build |
| A guide identifies a puzzle only by color and number | Compare its screenshot or level-file identifier |
For finding a particular puzzle, the community interactive map offers location markers, images, and level-file identifiers. Compare the chamber arrangement and objects before selecting a solution.
Identifiers such as mirror_pals are more specific than an informal label like “orange 22.” They refer to level files, however, and should not be mistaken for names necessarily displayed during play.
The map also began receiving release-game additions after launch. Check the actual board even when a marker appears to be in the right region. Likewise, broader walkthroughs covering gold rooms or the Vault of the Beamcasters should not be treated as the next steps in this four-room Warrior route.
FAQ
What does this order of the sinking star demo walkthrough cover?
It covers the northern entrance and four opening Warrior rooms in the June demo: the corridor, six chambers, single-button room, and three-button room. The first two have directional solutions; the last two have objective and completion guidance.
How much content was in the June demo?
The official demo FAQ described roughly 110 levels, portions of the overworld, three initial worlds, and later puzzles combining their rules. This opening Warrior sequence represents a small part of that content.
Why can the Warrior push several crystals together?
Pushing a connected line is part of his puzzle-solving ability. Use it in the six-chamber room instead of trying to separate every crystal.
Are these solutions guaranteed to work in the full game?
Identical layouts across the June demo and every release build have not been officially confirmed. Check the starting positions, obstacles, hero, and exit before following the route in the full game.
Is the June demo still available?
Its announced availability was extended through June 26, 2026, at 10 a.m. PT. That historical window does not establish current availability. Check the game's Steam store listing for a present-day demo option.